


Have you deed to take it upon yourself to paint a drywall? If you are new to painting, you will need some advice before you begin, as some trade tricks will help you achieve better results.
Don’t fret! By the end of this article, you will be ready to start and finish your DIY project.
Is it possible to paint over freshly installed drywall?
While possible, it is not recommended to paint a freshly installed drywall before properly preparing it. To paint a new drywall, you first need to prime it with the appropriate sealer. If you skip this step, no matter how many coats of paint you apply, you will still see uneven areas. The reason for this is the way drywall absorbs colour, which is… well, uneven.
For the same reason, all-in-one paint and primer are also not ideal for drywalls. While it may achieve slightly better results than no primer, it will still be disappointing in the end. Priming the wall in advance will make the colours stand out, make the painting easier, and save you a significant amount of paint.
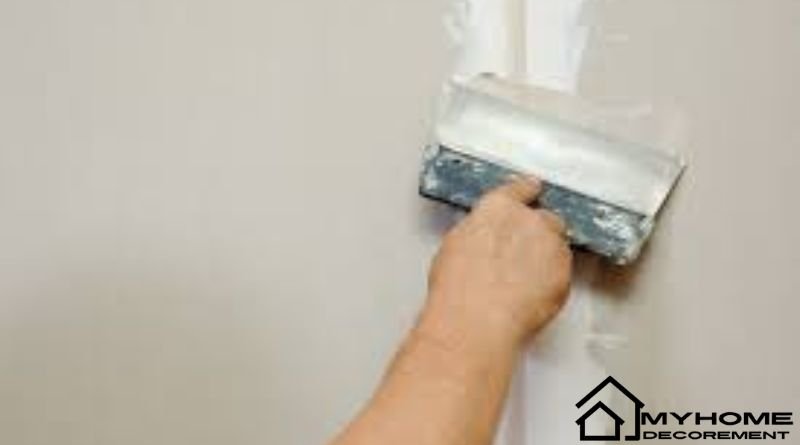
Drywall should be cleaned before painting
You won’t achieve a smooth result if you prime over chalky drywall. It’s important to remove the dust before priming. Otherwise, you’ll have rough spots. Despite the outstanding adhesive capabilities of some primers, if the surface you are working on is dusty, the result won’t be satisfying.
Ensure that you properly clean and dust the wall before applying primer. This will allow you to have it prepped for the painting job after, and you will be able to achieve a smooth finish.
To do that, you must remove all the dust and spots from the wall. If you decide to dust the wall with a brush, you must use proper protective gear. Choose between a dust mask and a painting respirator, with the latter offering greater protection. A dust mask will get the job done, but a respirator with cartridges and filters is more effective at protecting your lungs.
Another option you can go for is to use a vacuum with a brush extension. Carefully clean the entire surface twice. Once you have removed most of the dust, you will have to make a final effort with the details.
Grab a damp rug and carefully remove any remaining dust. Ensure the cloth is not too wet, as excessive water will ruin the drywall patching and leave marks.
If the wall is in an enclosed space, ensure a window is open to allow all the dust debris to escape.
Choosing the Best Drywall Primer
Now that you know what to do before you start painting, let’s see what type of primer you should use.
There are several different types of overcoats on the market, and, luckily for you, one is specific for drywall. You should always opt for that one.
While other alternatives will also get the job done, you may not achieve the same smooth and glossy finish you are hoping for. Also, you may need to apply primer more than once if you decide to go for one different than the drywall specific.
What is the best roller for painting new drywall?
To get that desired professional finish, ensure you purchase the right rollers. They differ from type to type, but you should look at how thick they are. Using a roller nap that’s too thick leaves “ropes” and a heavy stippling texture on the walls.
When applying a new coat of paint on walls and ceilings, it is best to use 9-inch rollers with 1/2-inch nap. The latter lays on lighter skin with a tighter stippling texture.
When selecting the roller, look for ones with lint-free surfaces, as they provide the best results when priming and painting drywall. They will not leave residue behind and allow you to spread the paint evenly.
Perfect Finishing with Rolling
Start rolling the primer from the top to the bottom of your walls. This will allow you to evenly apply the primer even if you have more than necessary on your roller. Never start from the middle of the wall, as that may result in uneven areas and an ugly finish at the end.
If you plan on painting the ceiling as well, you may want to get yourself an extendable paint brush to reach easily. Similarly to the walls, always start from one end of the ceiling and finish at the other.
Now that you know what primer and roller to use, you need to know how to prepare the area for the painting. If it is inside and there is furniture, you may want to cover all belongings in advance to avoid any paint marks. You should also look to protect the floors, windows and doors. Like when you dusted, always ensure a window is open so you can have proper air circulation.
After applying the first coat of primer, you should give it sufficient time to dry completely before painting. While that is usually around 3 to 4 hours, you may want to give it a day if you have the time.
If you have followed the advice so far, you should have your floors, doors and windows covered, your wall completely dust free and primed, ready to be painted.
The next step is to choose the proper type of paint. Flat, eggshell and satin are best for interior walls, whereas semi-gloss and gloss are best for trim and woodwork. An eggshell finish has a subtler shine, so it’s a great choice if you’re not ready for satin.
When painting a wall, you need a minimum of two coats to ensure a beautiful result. Depending on the colour you have opted for, you may want to apply a third coat just to get the best colour out of the paint.
After applying a coat of paint, you should wait around 4 hours for latex paint and 24 hours for oil-based paint. It is important to give enough time for the paint to completely dry before applying the next coat, as otherwise, you may end up with an uneven wall.
Conclusion
When painting drywall, there are several mandatory steps you have to follow before you begin. Ensure that the wall is clean, completely dust free and then apply a primer to ensure the surface is adhesive enough for the paint to stick. Once the wall is arid, apply at least two coats of paint to achieve the best results.
Painting drywall is no challenge when you follow the mentioned steps or decide to use professional handyman services.
Read also: check